The AOS 'Name@2712' cannot be reached. Setup cannot continue.Verify that you entered the correct server information an that the AOS is running.
Configuration for Microsoft Dynamics AX .NET Business Connector
To ensure JAMS will run Dynamics AX Jobs, a Local Client (Where JAMS will retrieve the Job List) and a Business Connector (Where JAMS will run Jobs) must be properly configured.
Begin by opening Microsoft Dynamics
- Open the Start Menu
- Navigate to Administrative Tools
- Open Microsoft Dynamics AX Configuration
Configure the Local Client
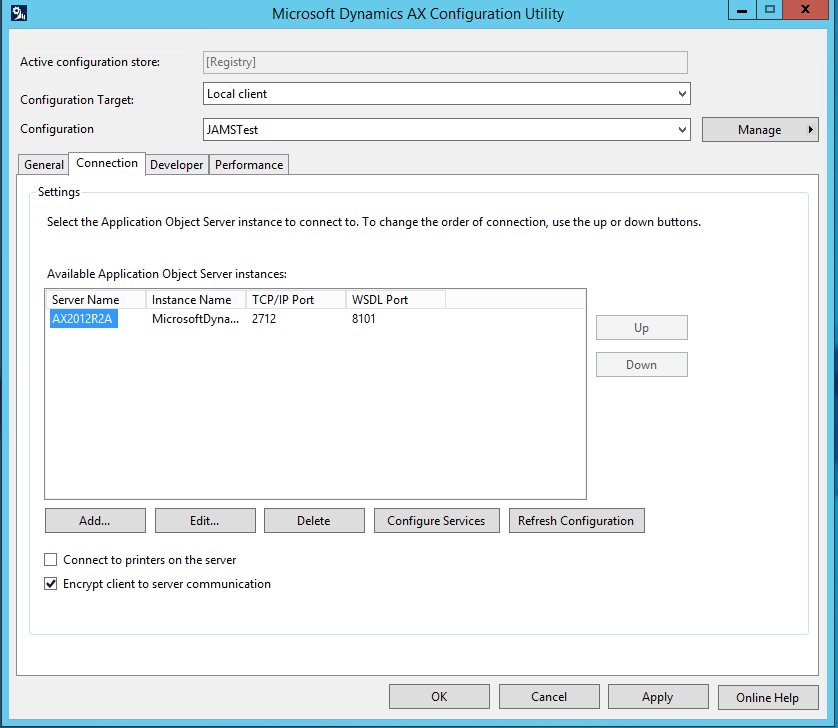
- Set the Configuration Target to "Local Client" using the drop-down menu
- In the Connection tab, verify the Application Object Server and Instance Name are correct.
If the server name cannot be changed, a new configuration must be created.
- Click the Manage button, then select Create Configuration
- In the dialog box, give the configuration a name, select Active Configuration, then click OK
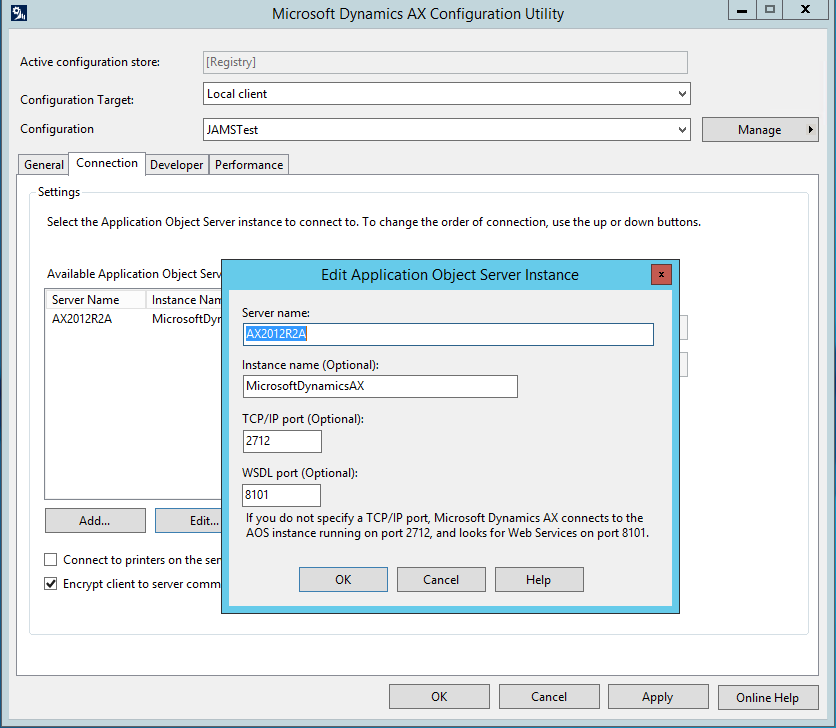
- Highlight the Server Name in the list of available servers and click Edit.
- In the dialog box that appears, fill in the Server Name, Instance Name, TCP Port and WSDL Port, then click OK.
- Click Apply
- Click Refresh Configuration
- Click OK to save the Configuration
NOTE: You will need the TCP/IP and WSDL ports open from the machine running the JAMS client to the AOS server in order to create Dynamics AX jobs.
Configure the Business Connector
The Business Connector Configuration Target is the AOS where the JAMS job will connect to when the job actually runs.
- Set the Configuration target to "Business Connector" using the drop down menu.
- In the Connection tab, verify the Application Object Server is correct and that the Instance Name is correct.
If the server name cannot be changed, a new configuration must be created.
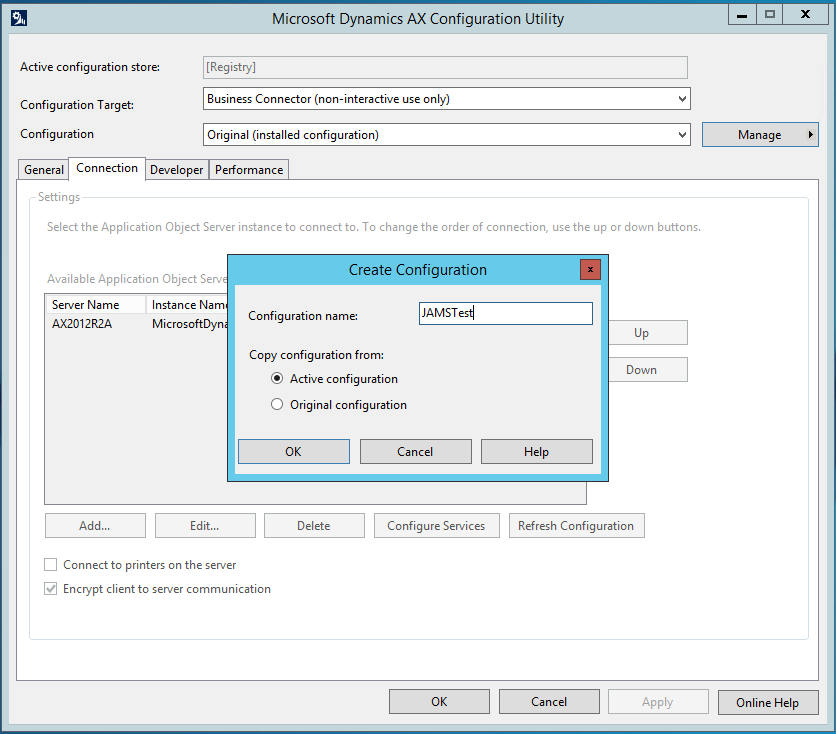
- Click the Manage button, then select Create configuration
- Give the configuration a name, select Active Configuration, then click OK
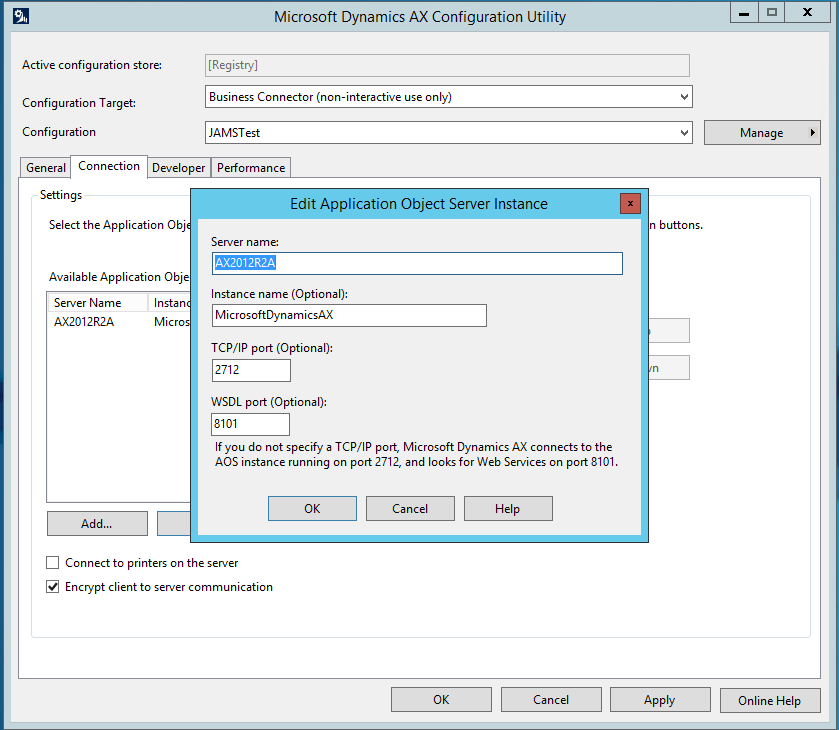
- Highlight the Server Name in the list of available servers and click Edit.
- In the dialog box that appears, fill in the Server Name, Instance Name, TCP Port and WSDL Port, then click OK.
- Click Apply
- Click Refresh Configuration
- Click OK to save the configuration


No comments:
Post a Comment